
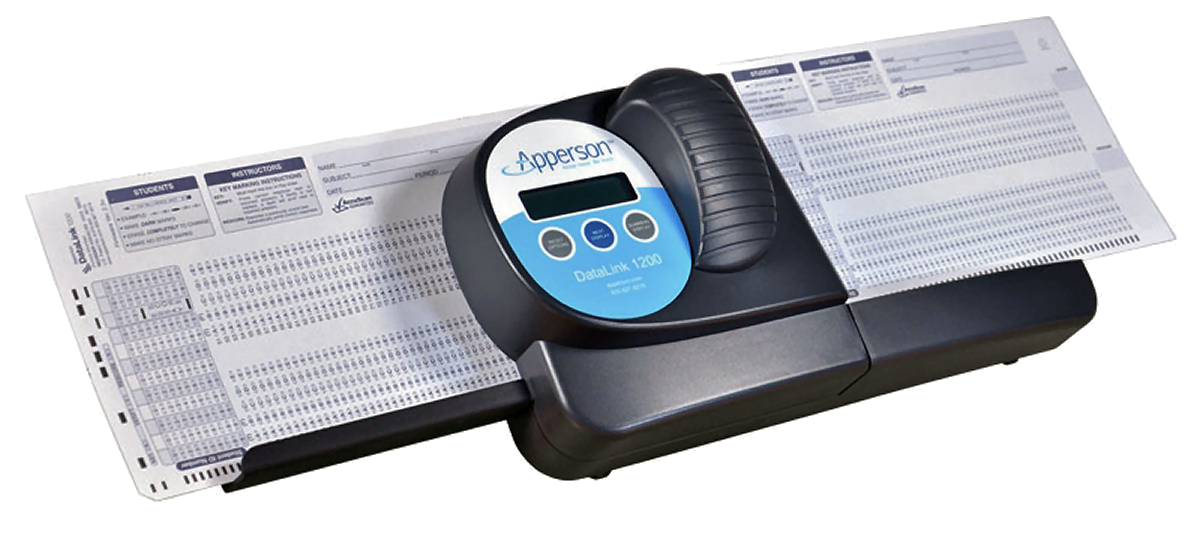


DataLink Connect Test Scoring
& Reporting Software
Free Software Just For Your Apperson Scanner
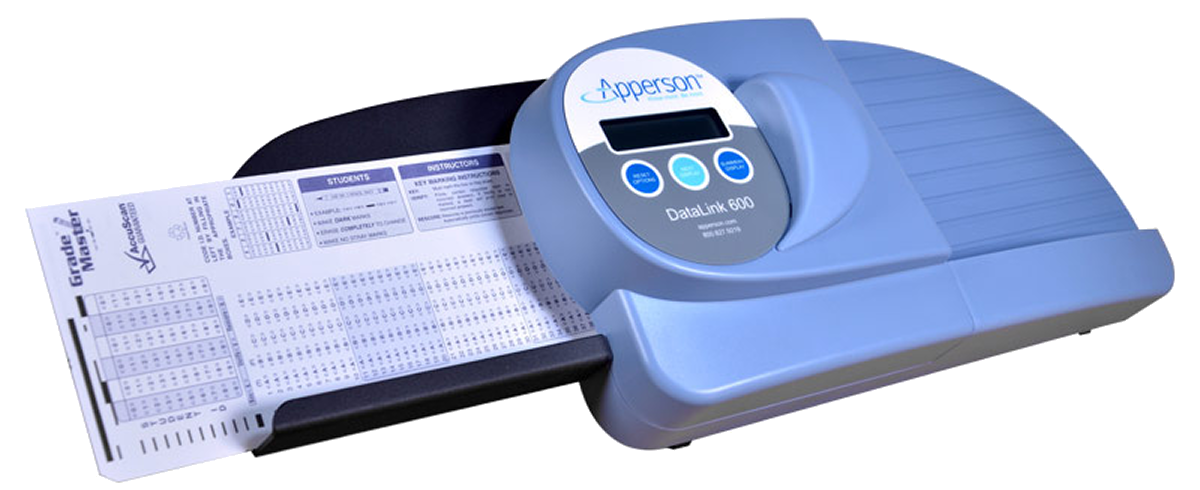
Unites data with your Windows- or Mac-based computer, enhance data scoring, analysis and reporting. Release data to popular gradebooks, Microsoft Excel, or a district or institution database. DataLink Connect is included with every DataLink scanner – at no additional cost.
DataLink Connect Frequently Asked Questions

Click on one of the topics below to expand
Getting Started with DataLink Connect
Getting Started
Before you can use DataLink to scan forms you’ll need to perform a few installation steps.
-
Install the appropriate USB Driver. Windows instructions are in the Installing USB Drivers - Windows Help file entry.
OSX instructions are in the Installing USB Drivers - OSX Help file entry. -
Connect the scanner to your computer using a USB cable.
-
Plug the power supply into an outlet and connect it to your scanner and start DataLink Connect.
The Toolbar


Installing USB Drivers

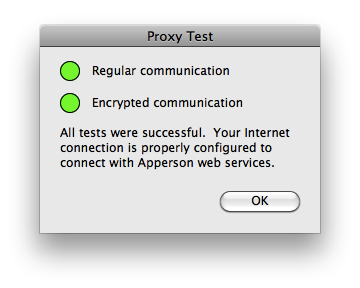
Troubleshooting

Using DataLink Connect
Batch Reporting
You can define a new Batch Report by selecting Batch Report Profiles from the File, Batch Reports menu item.
To Create a New Batch Report:Click the Add New buttonEnter the name for your Batch Report in the Create New Batch Profile dialog. Click OK to save or Cancel to Cancel. Select from the available reports and click the >> button to add them to the Selected column. Choose the destination. You can have the files saved as PDF's or send them directly to the printer by selecting the appropriate option. To Run a Batch ReportSelect the batch report by name from the File, Batch Reportsmenu item. |
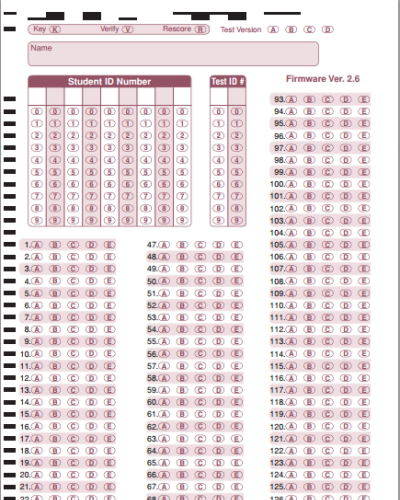
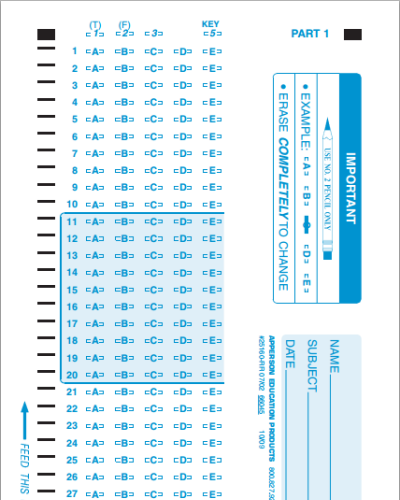
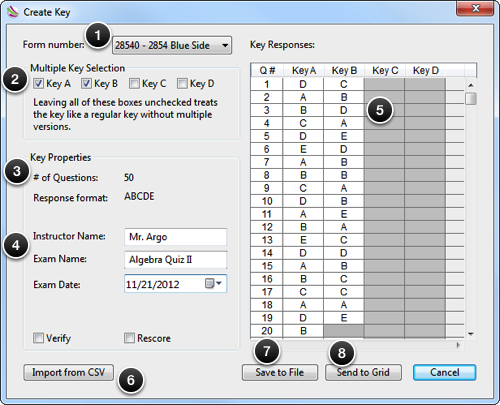
Creating a Test Key from an ANswer Form


How to create a Key using the Key Creator
Saving a Test Key
How to use Key Mapping

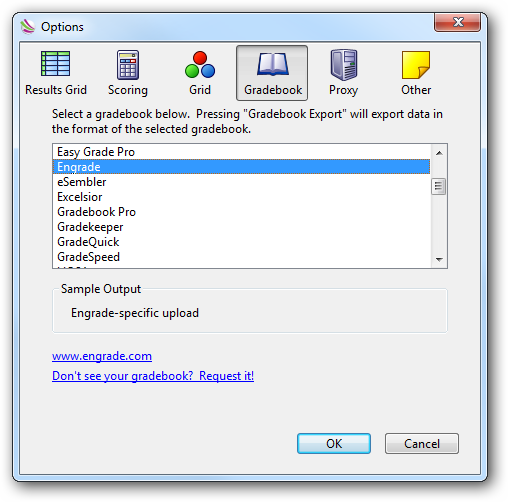
How to Export to Gradebook
Setting your Preferences
Setting Results Grid Preferences
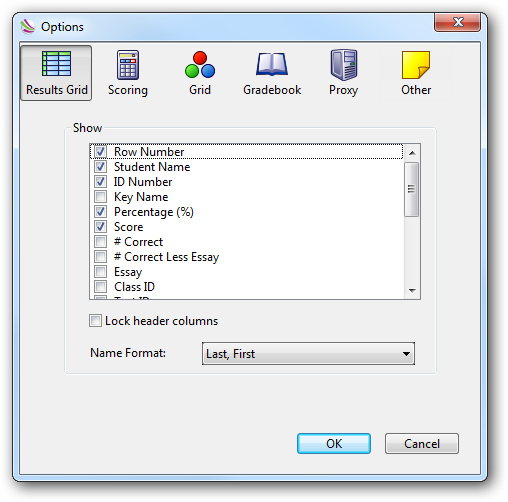 |
The Results Grid pane allows you to choose which data to show and how you want the Student Name to be formatted.
To Change the Results Columns: You can add columns to the results grid by checking the box next to the column name. Not all columns are supported on all forms or scanners.
Name Format: You can change the way that the students name is displayed using the Name Format control.
Lock Header Columns: Checking this box will lock the grid's header columns as the results are scrolled.
|
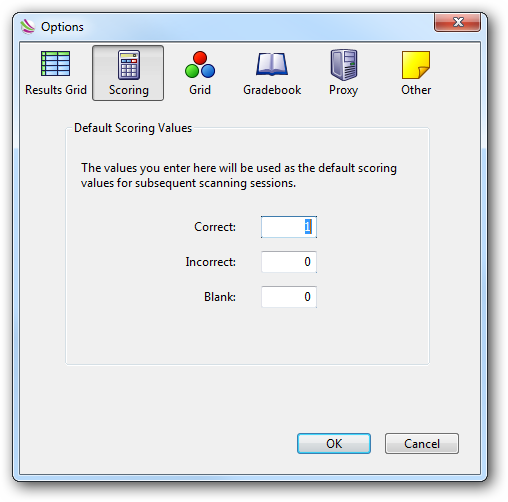
Setting Scoring Preferences
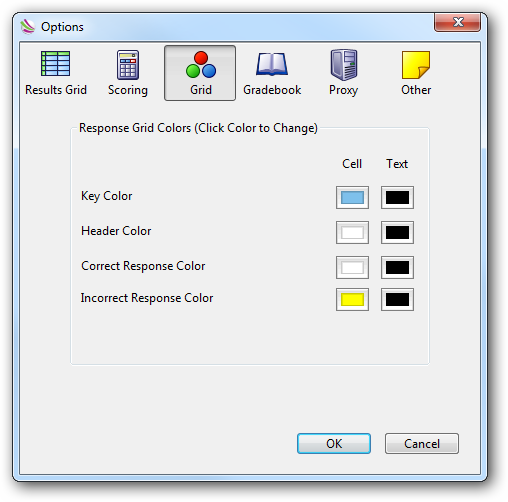
Setting Grid Options Preferences
Setting GradeBook Preferences
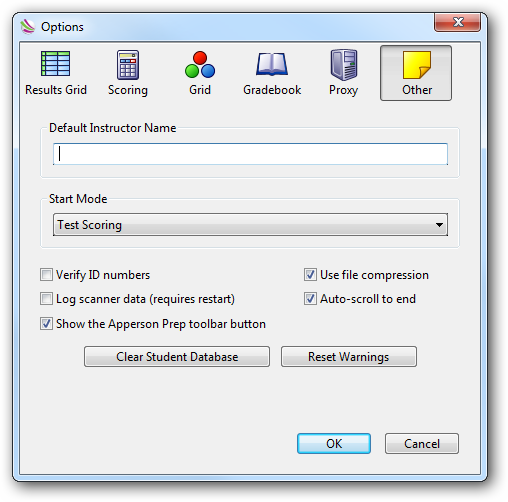
Setting Other Preferences